
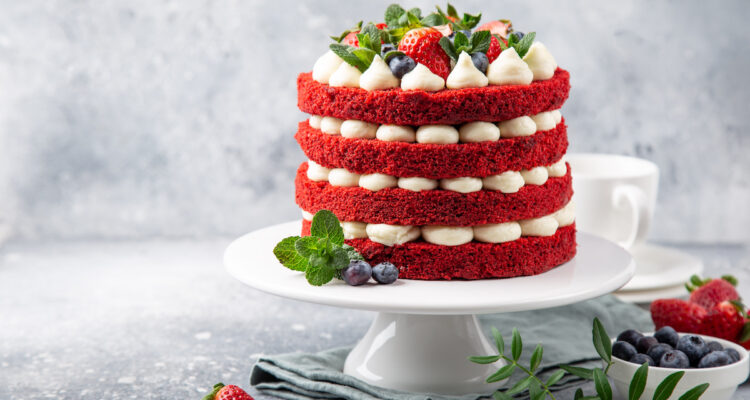
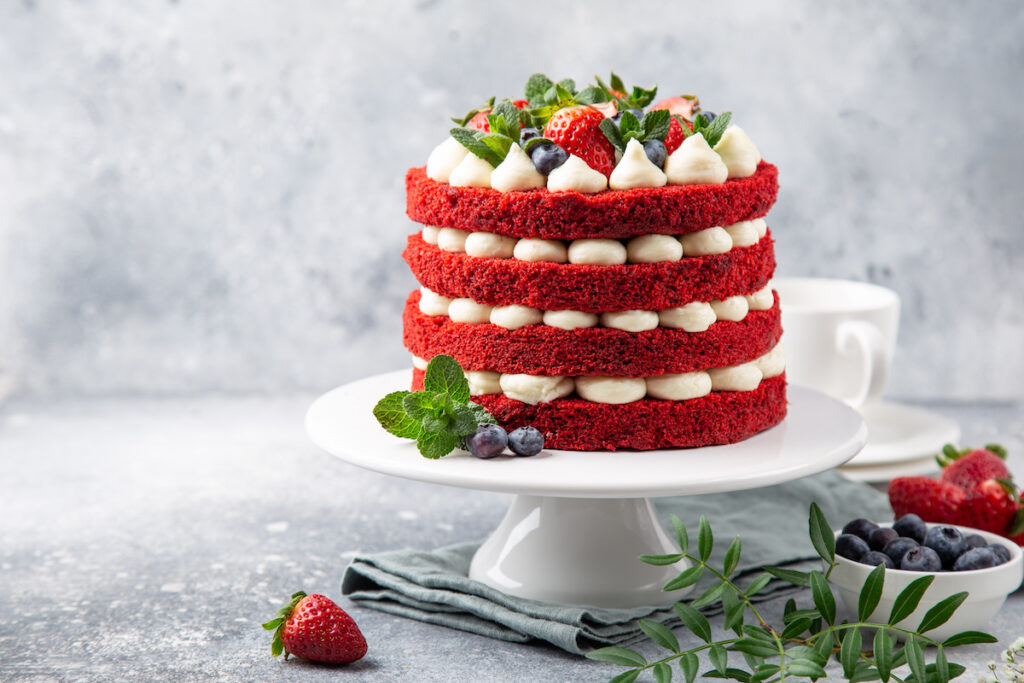
Everyone deserves a slice of heaven, and this gluten-free red velvet cake recipe is here to make your dreams come true. Whether baking for a special occasion or simply craving a luscious dessert, this cake will delight your taste buds and cater to dietary restrictions.
So, let’s dive into the world of gluten-free baking and discover a recipe that’s easy to follow and incredibly satisfying.
How to Make a Gluten-Free Red Velvet Cake
Follow these simple steps and gather the necessary ingredients to create a mouthwatering gluten-free red velvet cake.
1. Ingredients
To create the perfect gluten-free red velvet cake, you’ll need the following dry ingredients:
Dry Ingredients
- 2 1/2 cups gluten-free flour blend
- 1/4 cup unsweetened cocoa powder
- 1 teaspoon baking soda
- 1/2 teaspoon salt
Wet Ingredients
- 3/4 cup unsalted butter softened
- 1 1/2 cups granulated sugar
- 3 large eggs
- 1 cup buttermilk
- 1 teaspoon pure vanilla extract
- 1 teaspoon white vinegar
- 2 tablespoons red food coloring
Frosting
- 8 oz cream cheese, softened
- 1/2 cup unsalted butter, softened
- 3 cups powdered sugar
- 1 teaspoon vanilla extract
2. Preparation
- Start by preheating your oven to 350 °F (175 °C). It will ensure an even temperature when it’s time to bake the cake.
- Next, grease the sides of two 9-inch cake pans and line the bottoms with parchment paper. This will ensure that the cake doesn’t stick to the pans and can be easily removed after baking.
- Whisk the gluten-free flour blend, cocoa powder, baking soda, and salt in a medium-sized mixing bowl. Set aside.
- Mix the softened butter and granulated sugar together until smooth and fluffy, using either a hand or stand mixer. This process will add air to the mixture, creating a tender crumb in the finished cake.
- Add the eggs, one by one, to the butter and sugar mixture. Make sure to thoroughly incorporate each ingredient before adding the next one.
- In a separate dish, whisk together the buttermilk, vanilla extract, white vinegar, and red food coloring. Stir this into the egg, sugar, and butter mixture gradually.
- Slowly add the dry ingredients to the wet ingredients and stir until everything is well mixed. Overmixing might cause a dense cake, so be careful.
3. Baking
- The batter should be distributed evenly between the two cake pans.
- Bake in the preheated oven for about 25—30 minutes. To test if the cake is done, insert a toothpick into the middle and remove it cleanly.
- Let the cakes cool in the pans for 10 minutes before transferring them to a wire rack to completely cool down.
4. Preparing the Frosting
- To make the frosting, use a mixer to cream together the softened butter and cream cheese until smooth.
- Whisk in the powdered sugar and the vanilla extract gradually until a light and airy texture forms.
5. Assembling
- After the cakes have cooled, use a serrated knife to trim any domed tops, ensuring they’re level and even.
- Carefully transfer one cake layer to a serving platter or cake stand.
- Apply a thick coating of frosting on the surface, making sure it’s evenly distributed.
- After you’ve frosted the first layer of cake, you may add the second one on top and ice the entire cake, including the sides. To achieve a uniform and smooth appearance, use a spatula or offset spatula.
6. Decorate as Desired
- If you’d like, add a creative touch to your gluten-free red velvet cake. Add decorative piping, fresh berries, or a sprinkle of cocoa powder to make your cake unique.
Tips for Making the Best Gluten-Free Red Velvet Cake
1. Choose a High-Quality Gluten-Free Flour Blend
A superior flour combination is essential for producing a delicious gluten-free cake. Look for a blend that includes a mix of tapioca flour, potato starch, rice flour, and xanthan gum or guar gum for added stability.
2. Use Room Temperature Ingredients
To ensure a smooth batter and even baking, use room-temperature ingredients, particularly eggs and butter. It will help with proper aeration and emulsification, giving a tender and moist cake.
3. Don’t Overmix the Batter
If the mixture is overmixed, the resulting cake will be heavy and rubbery. Mix the ingredients until combined, being careful not to overwork the gluten-free flour.
4. Let the Cake Layers Cool Down
Before frosting, make sure the cake layers are completely cooled. The frosting will melt if they’re still warm, and the layers may become unstable.
5. Use an Offset Spatula for Frosting
To spread frosting evenly and smoothly, an offset spatula comes in handy. It provides more manageability and accuracy, guaranteeing a cake that looks as wonderful as it tastes.
Frequently Asked Questions
1. Can I make this cake dairy-free as well?
To make this cake dairy-free, replace the buttermilk with a dairy-free milk alternative (such as coconut, almond, or soy) mixed with one tablespoon of vinegar or lemon juice. Additionally, use dairy-free butter and cream cheese substitutes in the cake batter and the frosting.
2. Can I use natural food coloring instead of artificial red food coloring?
You can get the red color with natural food colorings such as beetroot powder or a beet juice reduction. Remember that the intensity of the color might vary, so adjust the amount of natural coloring accordingly to reach your desired shade.
3. How do I store any leftover cake?
Keep the remaining cake in an airtight container for up to three days at room temperature. Store the cake in the refrigerator to stop the frosting from melting if you live in a warm or humid environment. If you want the finest flavor and texture, let the cake come to room temperature before serving.
4. Can I freeze the gluten-free red velvet cake?
The cake layers can be stored in the freezer for up to three months if they are separately covered in plastic wrap. Before assembling and icing the cake, let the layers thaw in the refrigerator overnight. However, you shouldn’t freeze the finished cake because the cream cheese frosting can lose its smooth texture when thawed.
5. What if I don’t have buttermilk?
If you don’t have buttermilk, you can easily substitute it by mixing one cup of milk (dairy or dairy-free) with one tablespoon of lemon juice or apple cider vinegar. Allow the mixture to sit for about five minutes before using it in the recipe.
6. Can I use a different frosting for the gluten-free red velvet cake?
Although cream cheese frosting is commonly used, you are free to use whatever you like on your red velvet cake. Some alternatives include a simple vanilla buttercream, a dairy-free frosting, or even a chocolate ganache for a richer flavor.
Conclusion
With this easy-to-follow recipe, you’ll soon indulge in a delectable gluten-free red velvet cake that’s perfect for any occasion. Feel free to play around with the recipe to make it more appealing to your personal taste preference. The most important thing to put into your baked goods is your heart and soul.
As you savor each heavenly bite, know that you’ve created a dessert that’s not only delicious but also caters to diverse dietary needs. By sharing your gluten-free red velvet cake with friends and family, you’re offering a memorable treat that everyone can enjoy.
Now that you’ve tried this recipe, spread the joy of gluten-free baking. You may even inspire others to explore the delightful world of gluten-free desserts. Happy baking!