
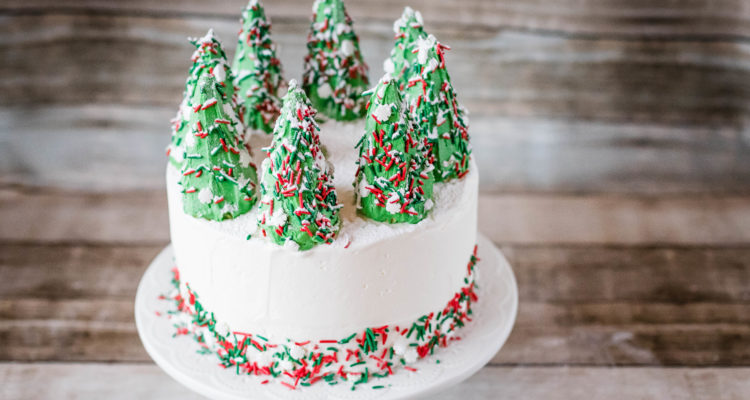
Are you ready for yet another super-easy holiday cake decoration idea? This beautiful cake features cute Christmas trees that are actually ice cream cones covered with green buttercream frosting and decorated with colorful holiday sprinkles. Dusted with icing sugar, they get a beautiful, snowy look. Read on to find tips and tricks on how to make this easy yet pretty holiday cake!
For this decoration, you’ll need:
- 8-inch cake
- 5 cups buttercream frosting (check my favorite recipe in this post)
- 8 ice cream (sugar) cones
- Leaf green icing color
- Snowflake Mix Sprinkles
- 1/2 cup confectioner’s sugar (powdered sugar) for dusting
That’s it!
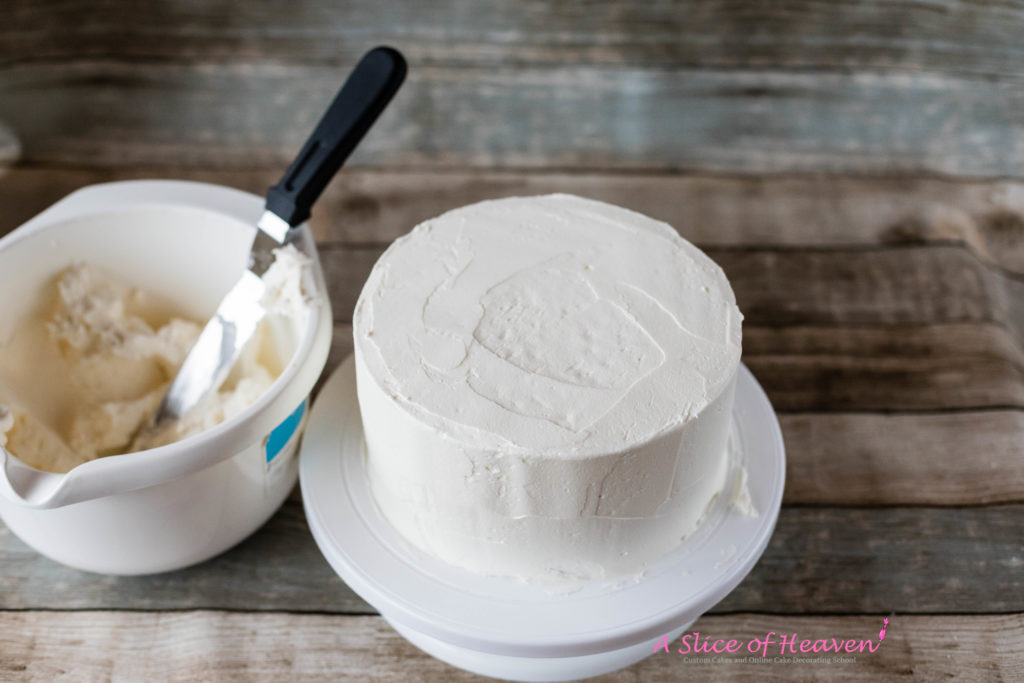
First, fill and frost your cake with the basic white buttercream frosting. You’ll need approximately 3 1/2 cups if you have two layers. Don’t worry if the frosted surface doesn’t look even — you will be able to tackle that problem later.
Next, take the leftover frosting and add 1 teaspoon green icing color.
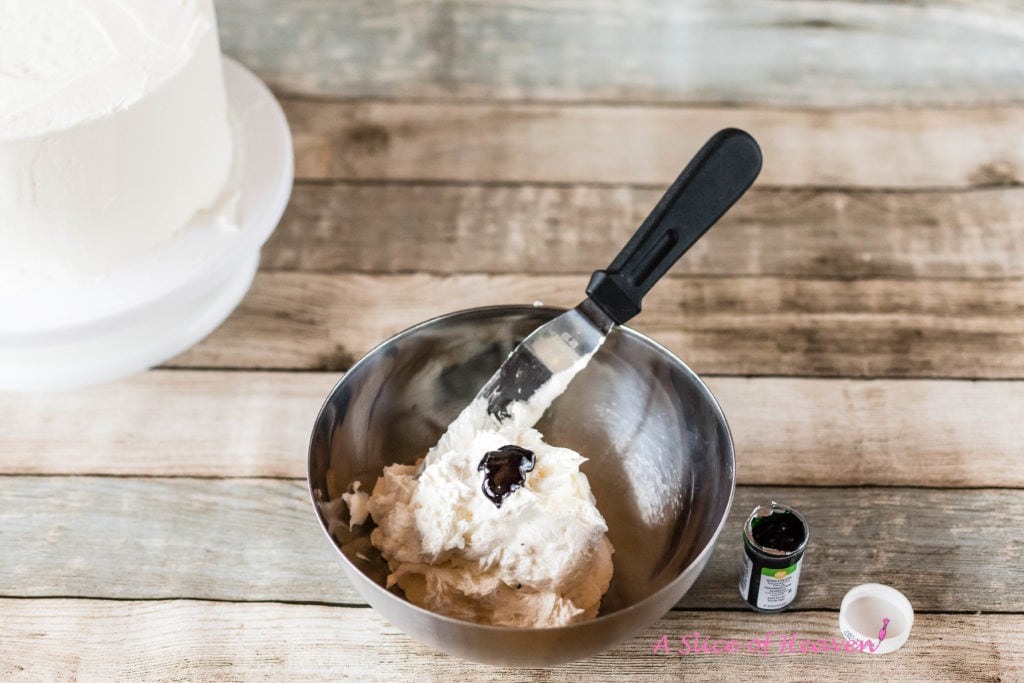
Mix well with a spatula.
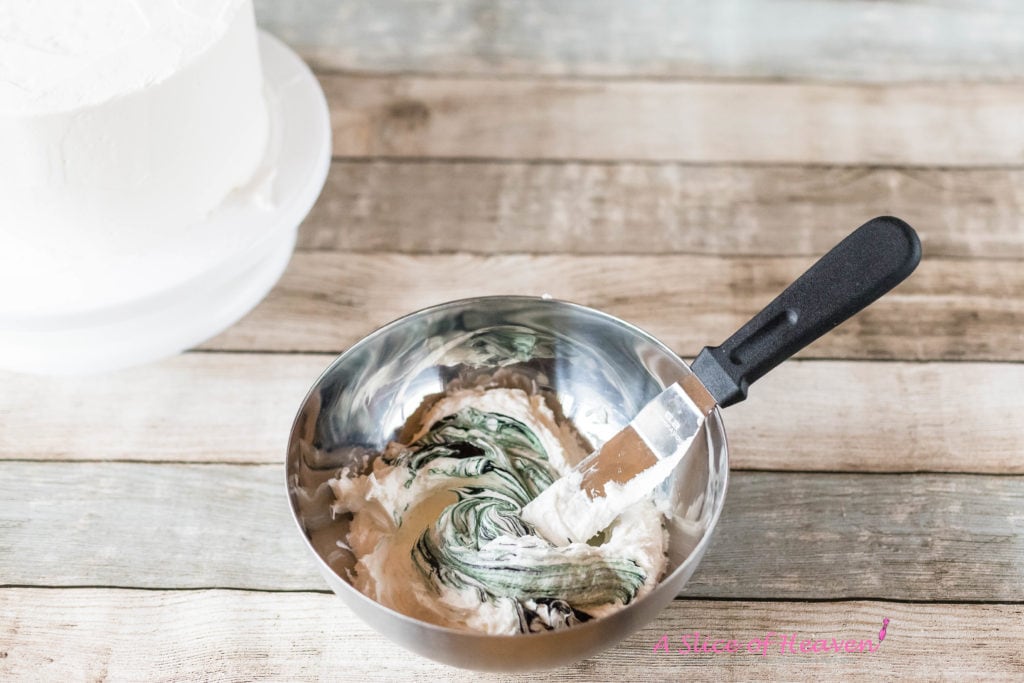
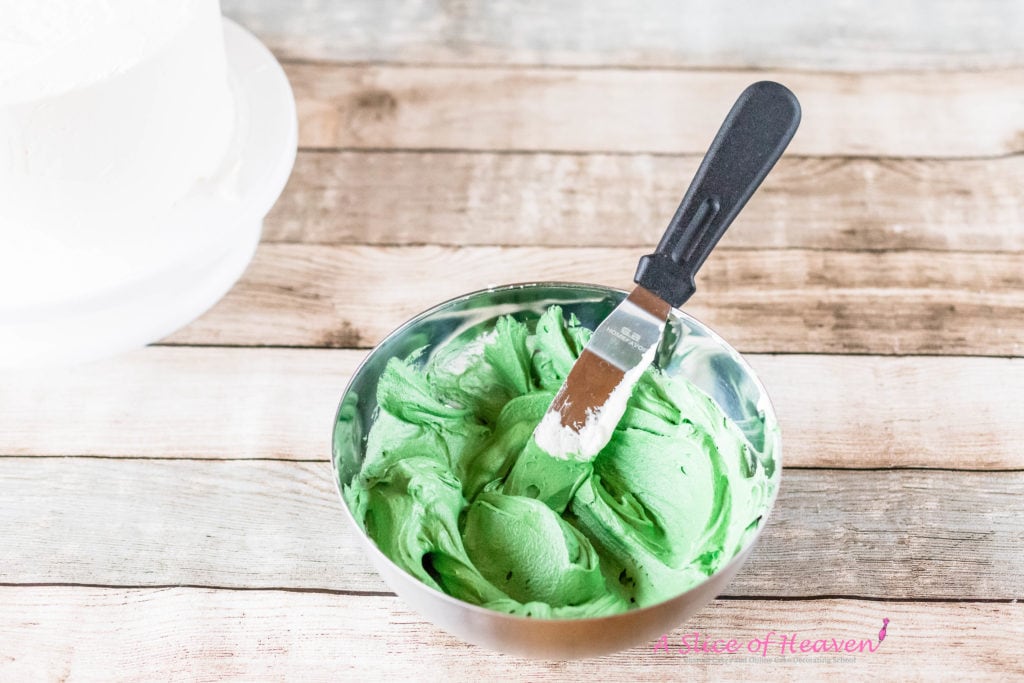
Add more icing color by teaspoon, mixing well after each addition, until you’ve got the desired green color for your ice cream cone Christmas trees.
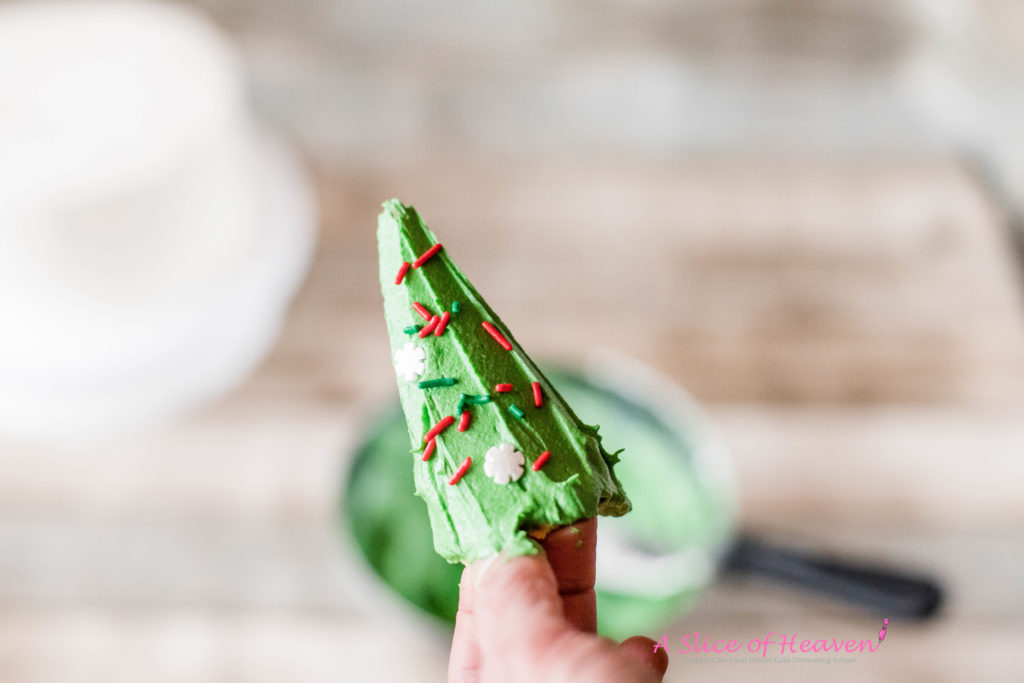
Take one ice cream cone. Using the spatula, cover the ice cream cone with green frosting.
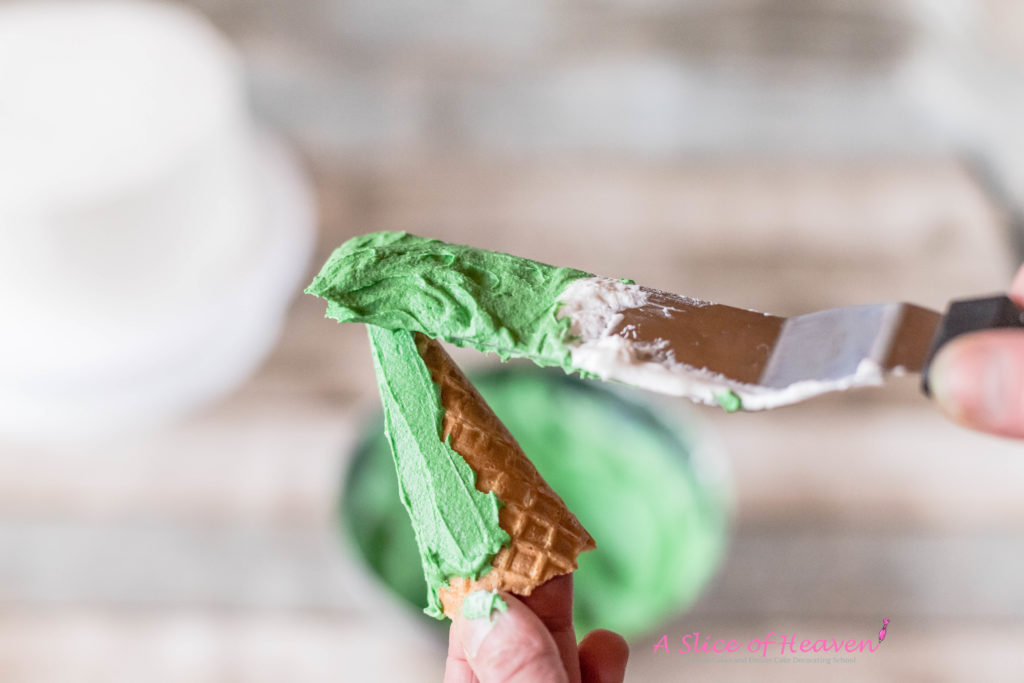
Be careful not to break the cone! Some ice cream (or sugar) cones crumble very easily, so try to find ones that are a bit sturdier. Tip: stick your fingers inside the cone to hold it while spreading the frosting — this is the best way not to frost your fingers, but just the cone!
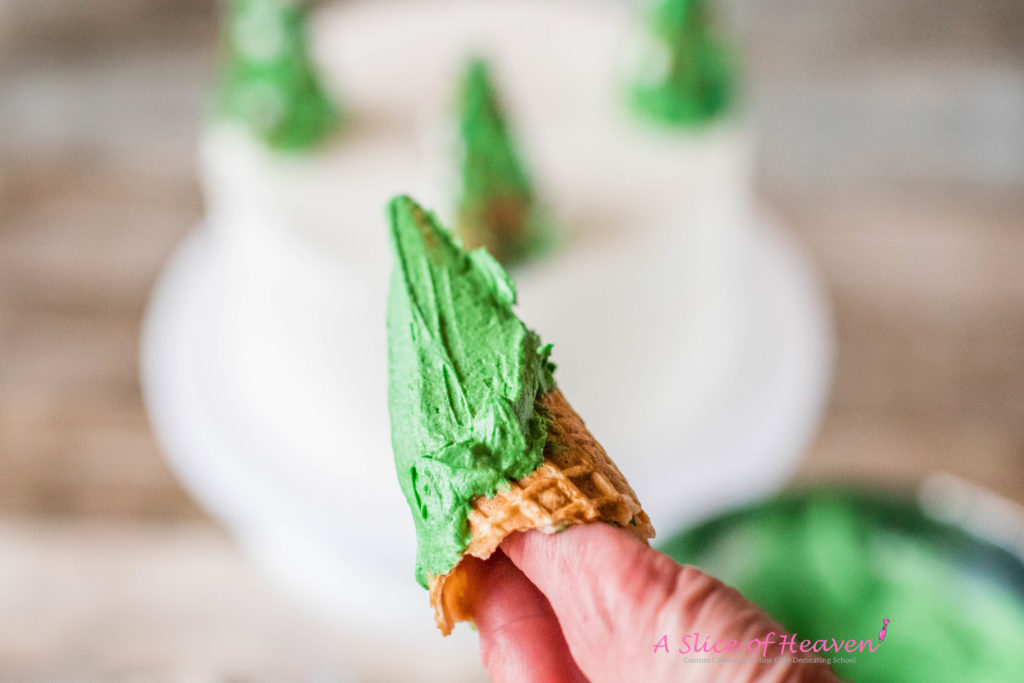
Decorate the frosted Christmas tree by sprinkling plenty of Snowflake Mix Sprinkles or other colorful seasonal sprinkles all over it.
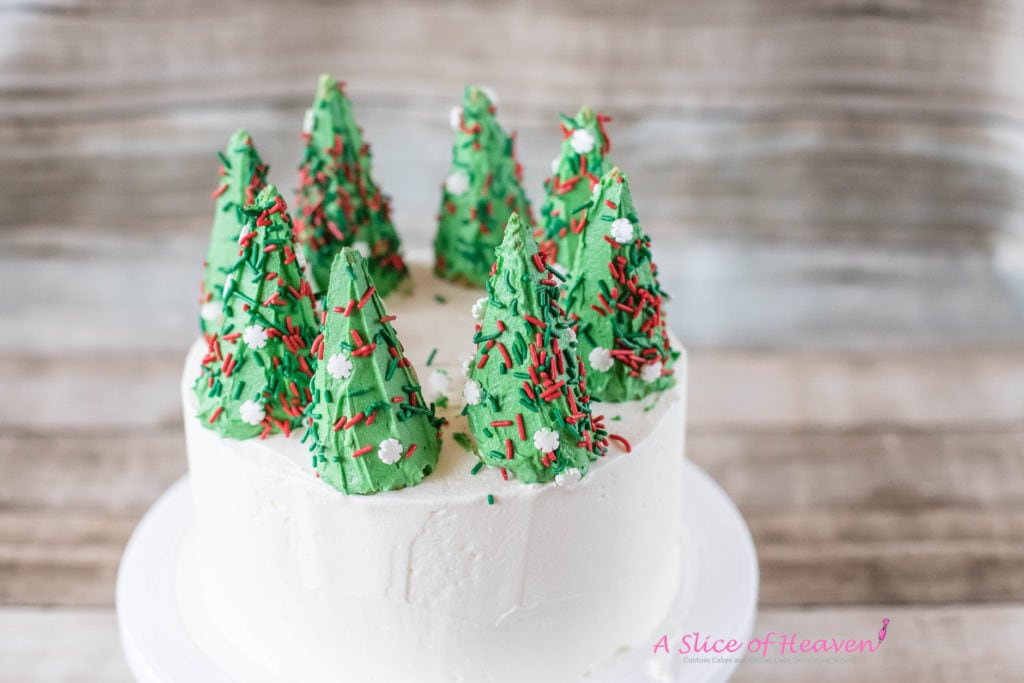
Place the decorated tree carefully on the cake. You can touch the tip of the tree when you place the tree on the cake — nobody will be able to see it.

Repeat with the rest of the ice cream cones.
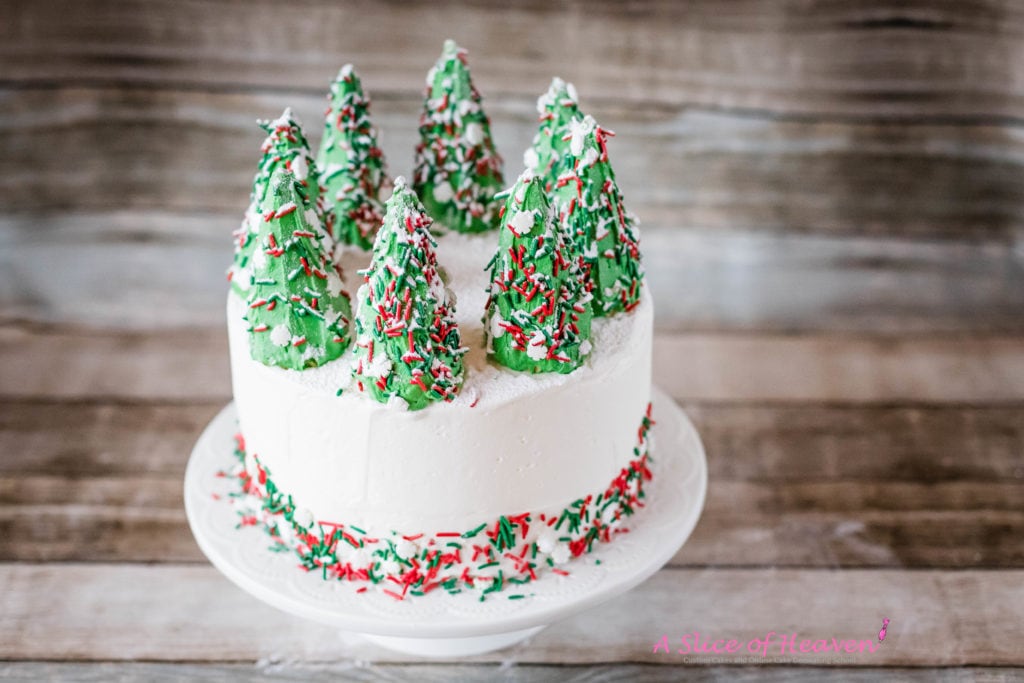
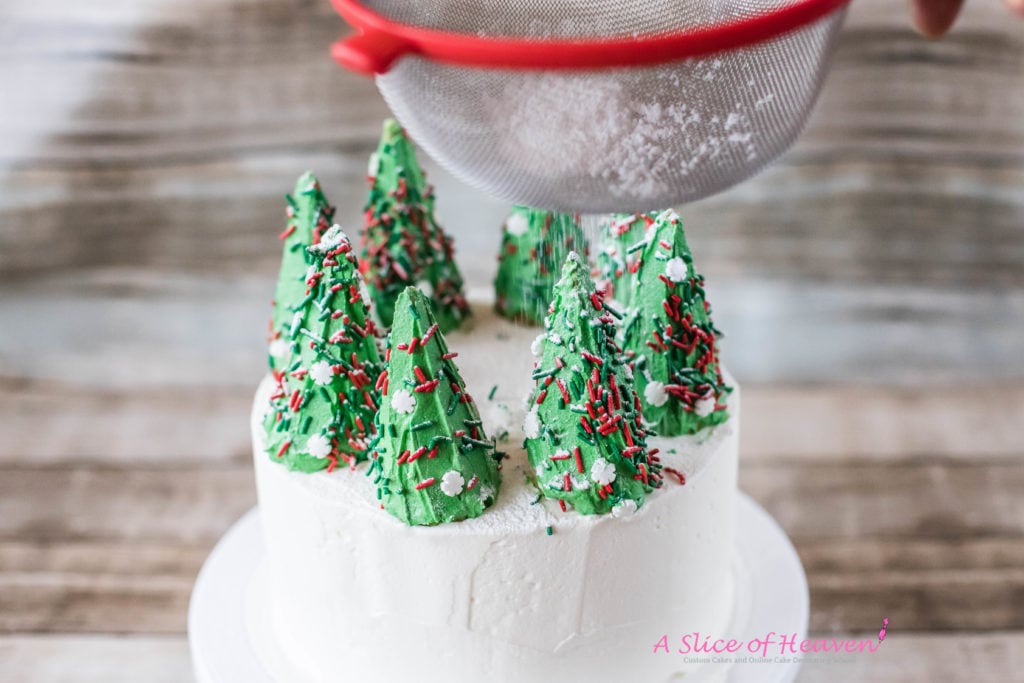
Next, dust the trees and the cake with confectioner’s sugar. This is also a great way to hide those imperfections in the white buttercream frosting. And naturally, the dusting gives a pretty and wintery look.
Finally, sprinkle some colorful sprinkles around the bottom of the cake.
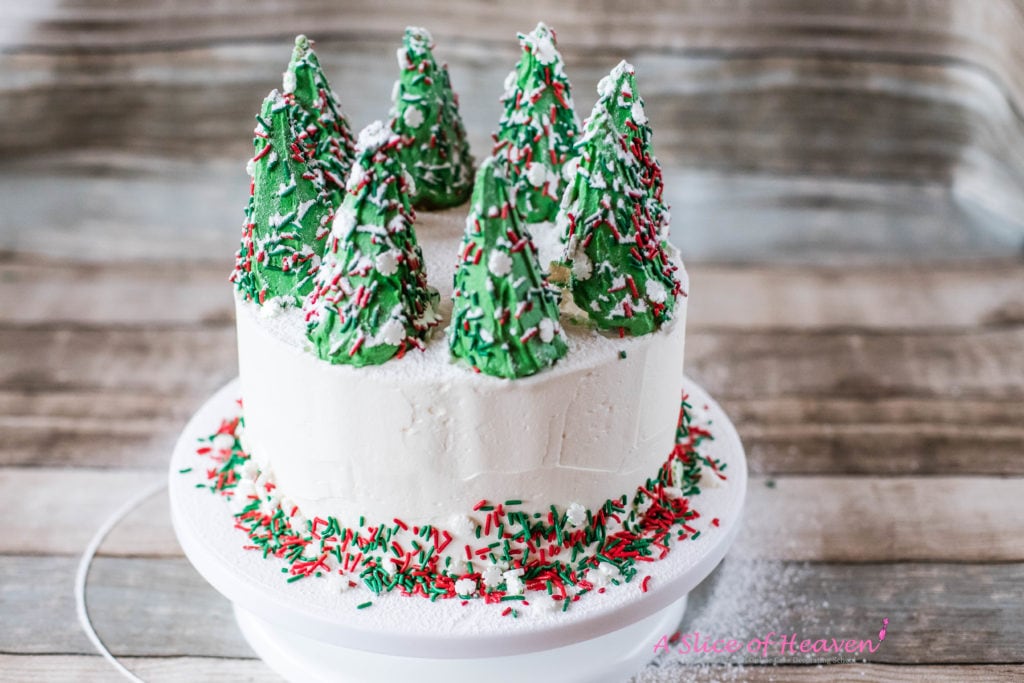
Voila! Your masterpiece is now ready. Easy, wasn’t it?
Still one tip: if you plan to serve the cake later, let’s say the next day, dust the cake with confectioner’s sugar right before serving. If you store the dusted cake long, the dusting stars looking dull. Keep it fresh!
Be sure to check the Part I, too, for another easy and stunning holiday cake decoration!
Happy baking!