
Imagine a flawless, super-cute Hello Kitty cake — a pink, strawberry-flavored cake with snow-white, smooth frosting and perfectly shaped bow, eyes, nose, and whiskers… all made at home, without the need for master chef skills! Is that just a dream?
No, it’s not a dream; you can make it a reality already today! Making a perfect-looking homemade Hello Kitty cake is not difficult — I’ll show you how! This every little (and bigger!) girl’s dream cake is easy to make. The cake is moist and scrumptious, the frosting rich and smooth, and it just looks sooo adorable!
In addition to the cake and frosting ingredients, you’ll need:
- Wilton Hello Kitty cake pan
- Red Candy Melts
- Yellow Candy Melts
- Black Candy Melts
- Black food coloring (food decorating pen works best)
So, let’s make first the cake. Below is the recipe for a really easy but scrumptiously moist sponge cake recipe I love to use often. It’s the combination of oil and yogurt that makes this cake succulent and scrumptious! For more tips for moist cakes and cupcakes, check out this post.
Of course, you can make it even easier by using a ready two-layer cake mix, but as this tutorial is about the homemade cake, I thought let’s make it really homemade by baking the cake from scratch. Anyway, feel free to use a box cake mix. You can still improve it a lot and get a homemade touch with these tips!
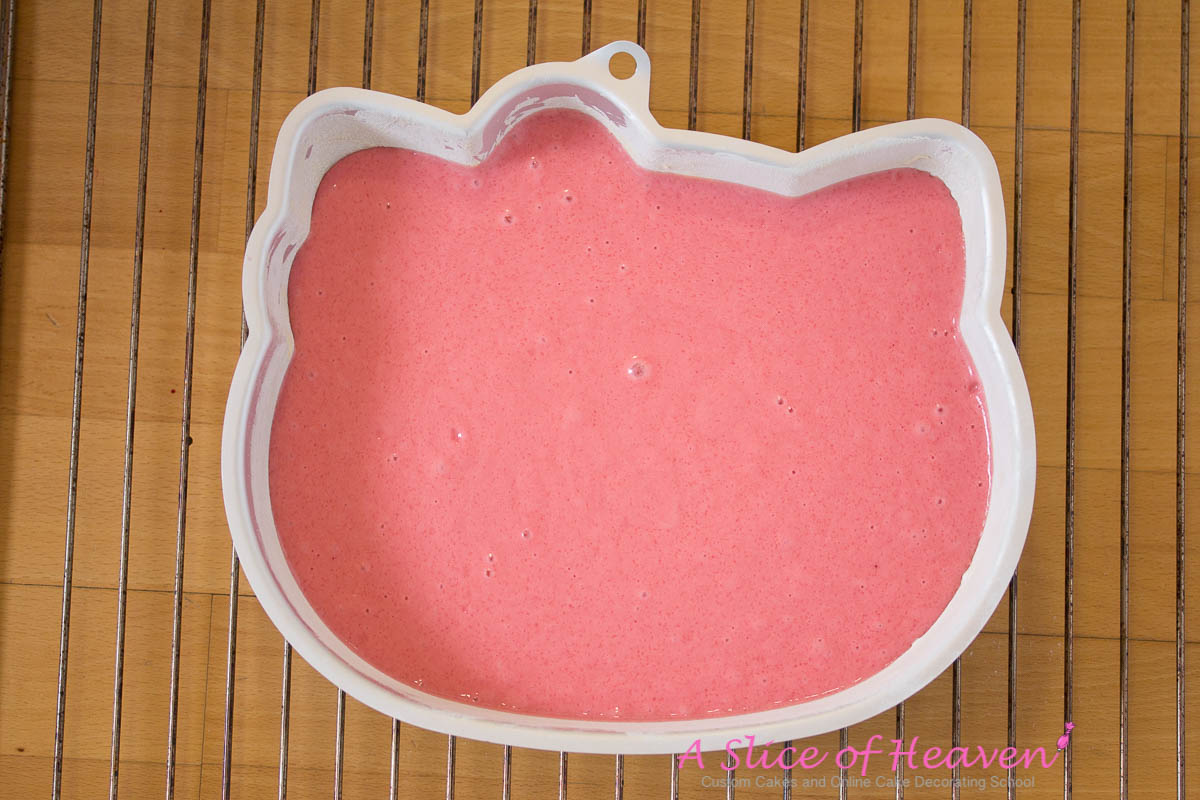
I’ve added pink food coloring and strawberry flavoring to the cake because I thought it is a perfect match with Hello Kitty — I bet she loves strawberries and she definitely loves the pink color!
Note that this cake batter is accommodated to fit the Wilton Hello Kitty cake pan:
Homemade Hello Kitty Cake
Ingredients
1 1/2 cups all-purpose flour
3/4 cup sugar
2 tsp baking powder
pinch of salt
3 eggs
1 cup vanilla yogurt
1/3 cup rapeseed oil (or other neutral-tasting oil)
(strawberry flavoring)
(liquid pink food coloring)
Directions
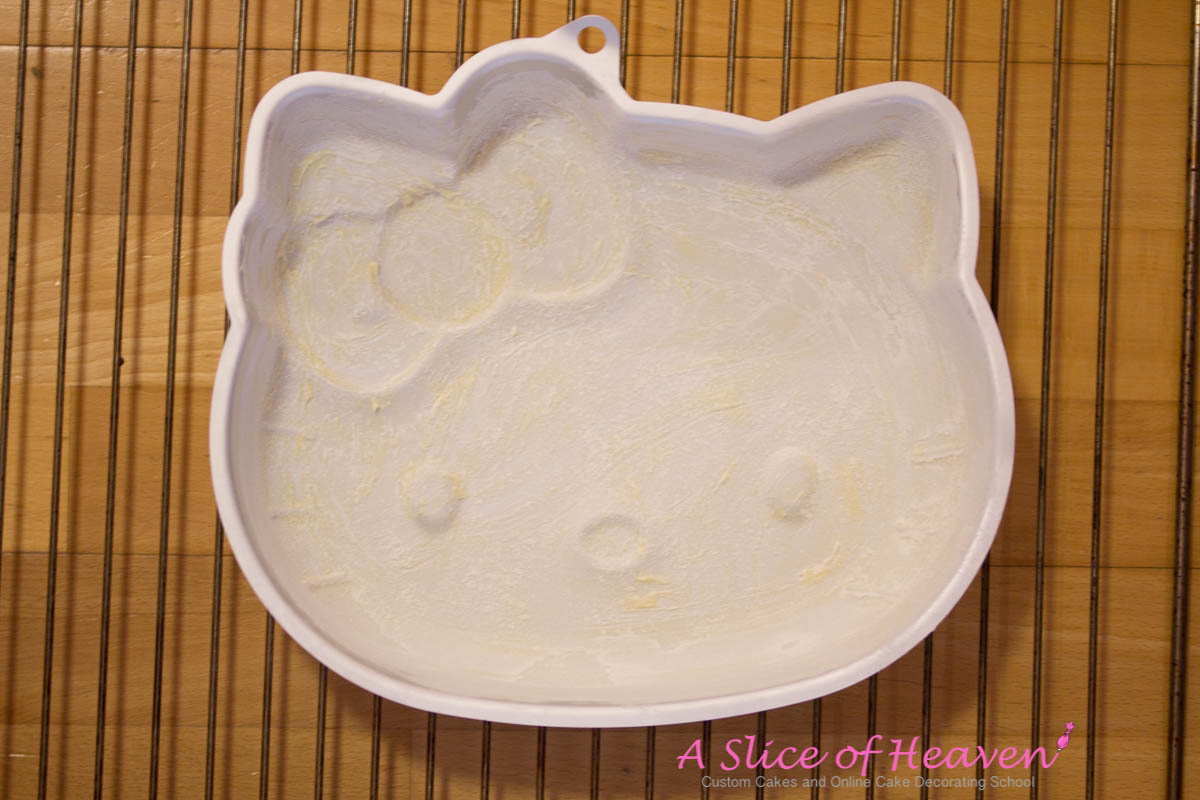
1. Grease the Hello Kitty cake pan generously with softened butter. Flour it, too.
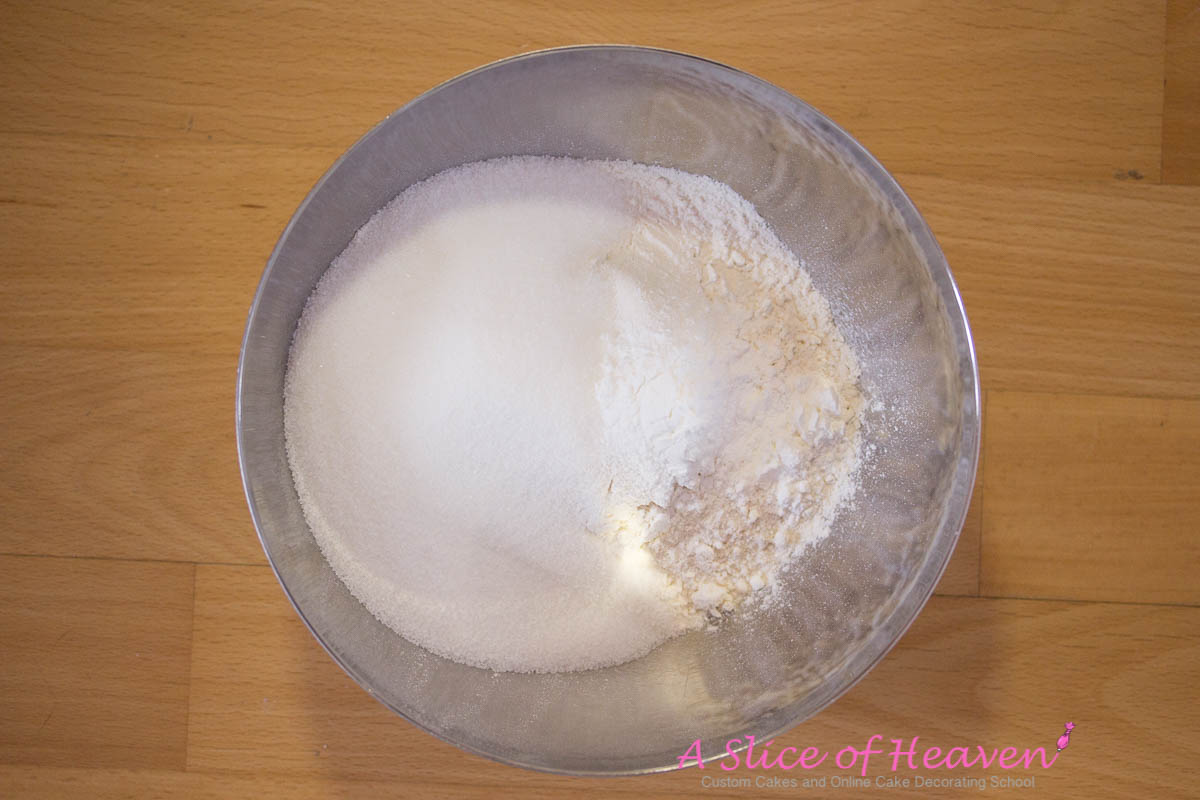
2. Combine flour, baking powder, sugar and salt in a medium bowl. Mix well.
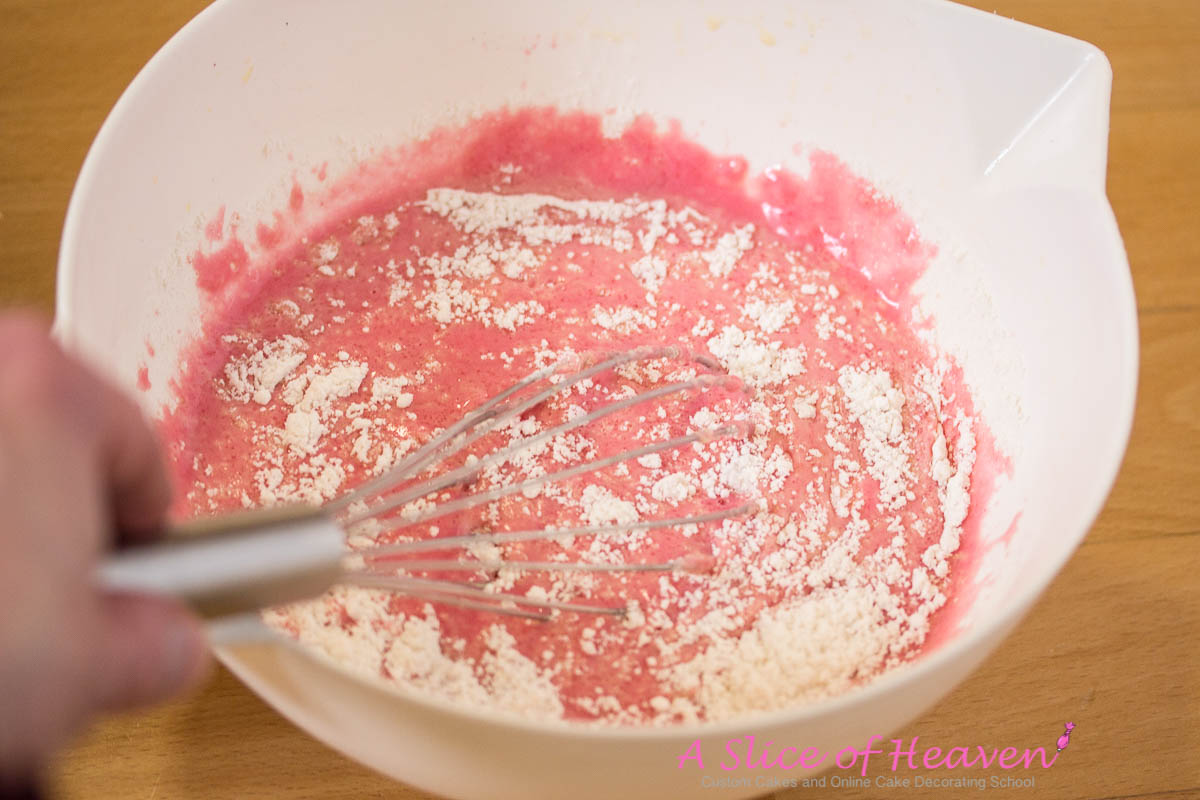
3. Combine eggs, yogurt, oil, strawberry flavoring and the food coloring in a large bowl. Whisk until well combined.

4. Gradually add the dry ingredient mixture while continuously whisking.
5. Pour into the prepared Hello Kitty cake pan and bake on 350 F for 35-45 minutes or until a toothpick inserted in the middle comes out clean. Do Not Overbake!
6. Remove from the pan and let cool completely (preferably in the fridge) before frosting.
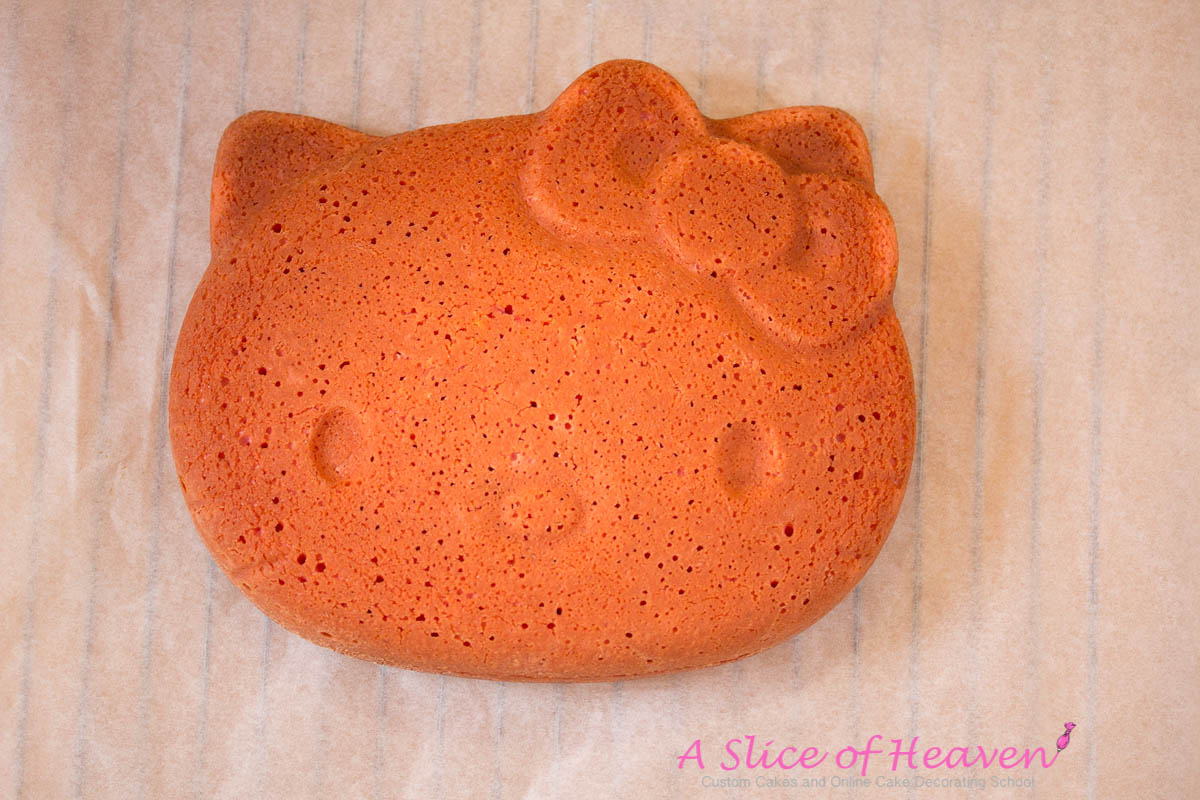
So, now you’ve got a perfect looking, super-cute Hello Kitty cake! Let’s give it a final touch by frosting and decorating it. It’s easy!
If you are a seasoned baker or master chef, you can cover the cake with white fondant. However, here’s an easier way to frost and decorate the cake. You can use this frosting recipe, but here’s my improved buttercream frosting recipe that makes a perfect, delicious frosting and is also easy to spread. A little bit of butter gives it a delicious flavor and Crisco makes it white. Corn syrup makes it slightly glossy and easily spreadable. Be sure to use clear vanilla extract because brown vanilla extract makes the frosting brownish (good for chocolate frosting but not for a white one!):
Frosting
Ingredients
1/2 stick softened butter
1 cup Crisco
3 cups powdered sugar
1 tablespoon corn syrup
1/2 tsp clear vanilla extract
Directions
1. Beat the butter and Crisco until relatively fluffy, about 5 minutes.

2. Add sugar, syrup, and vanilla.
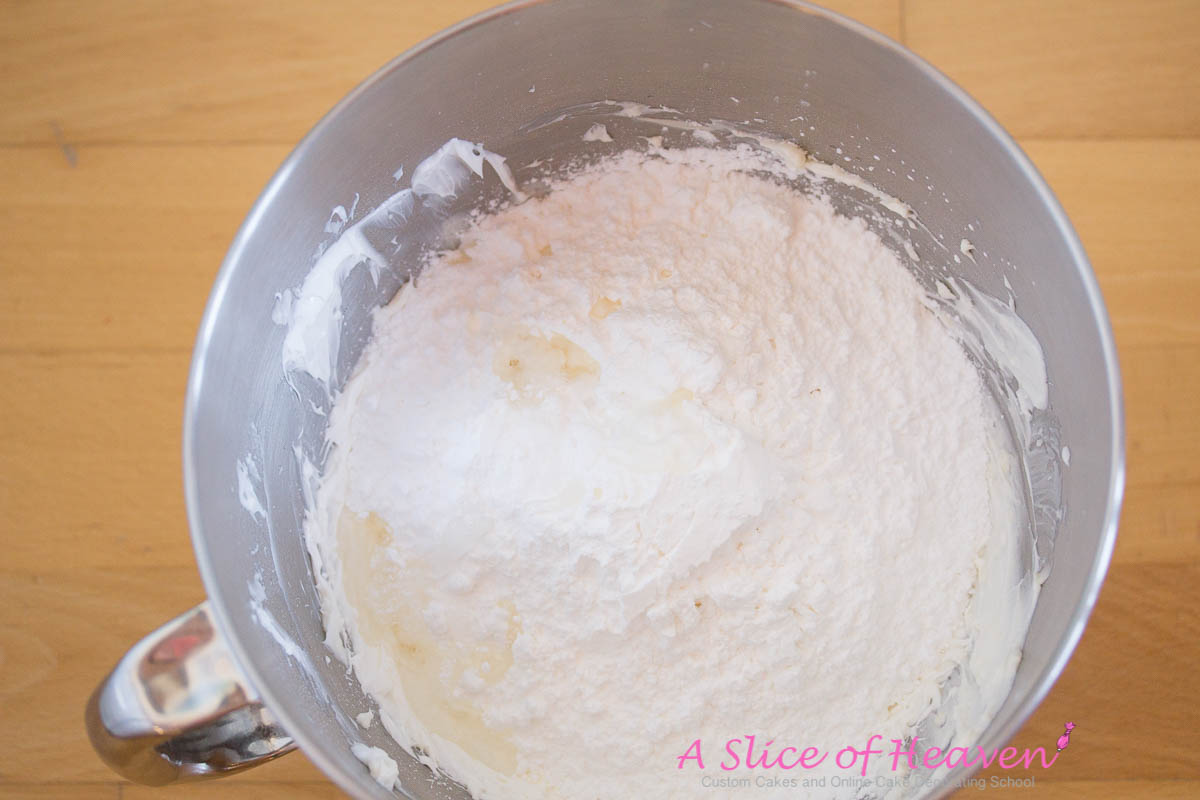
3. Beat until very fluffy, about 10-15 minutes. Start with a low speed so that the powdered sugar doesn’t catapult all over your kitchen. Scrape the sides of the mixing bowl once in a while to get everything well mixed.
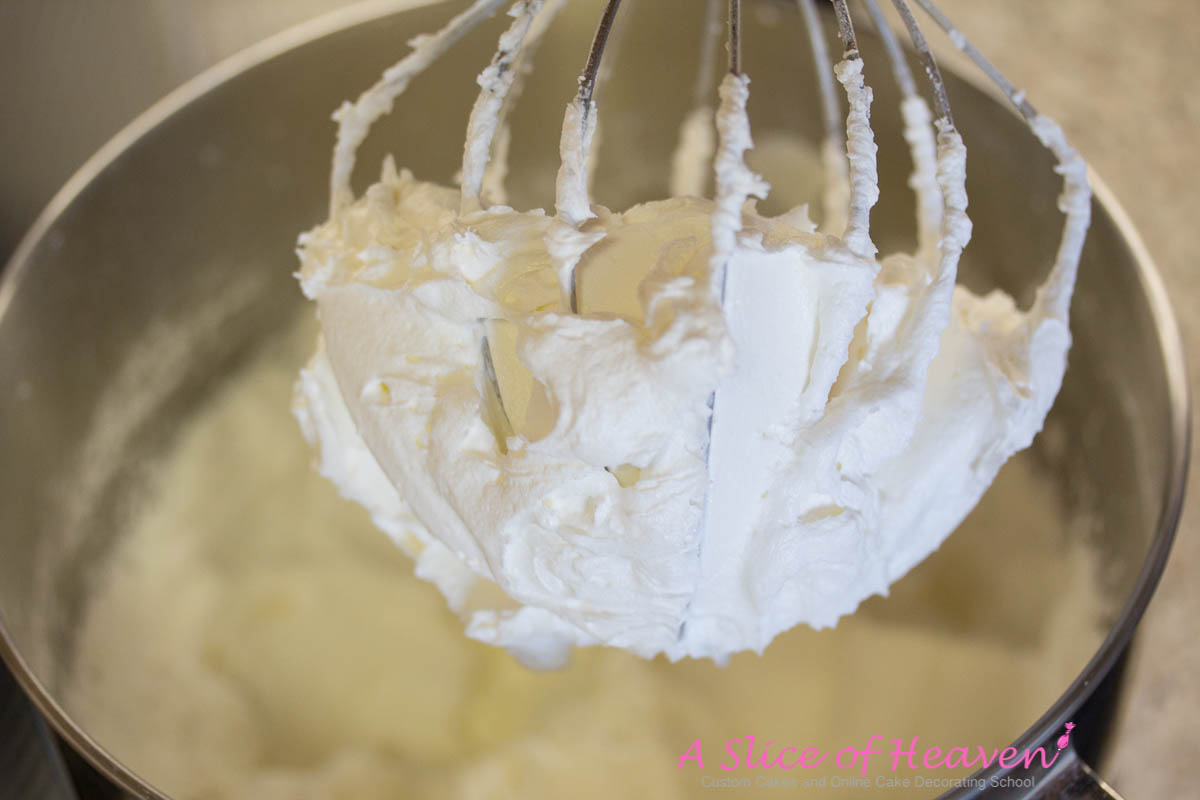
4. Spread the frosting evenly and smoothly on the cake with a spatula. Don’t worry about the details and decorations yet – we’ll soon have an easy way to prepare them!
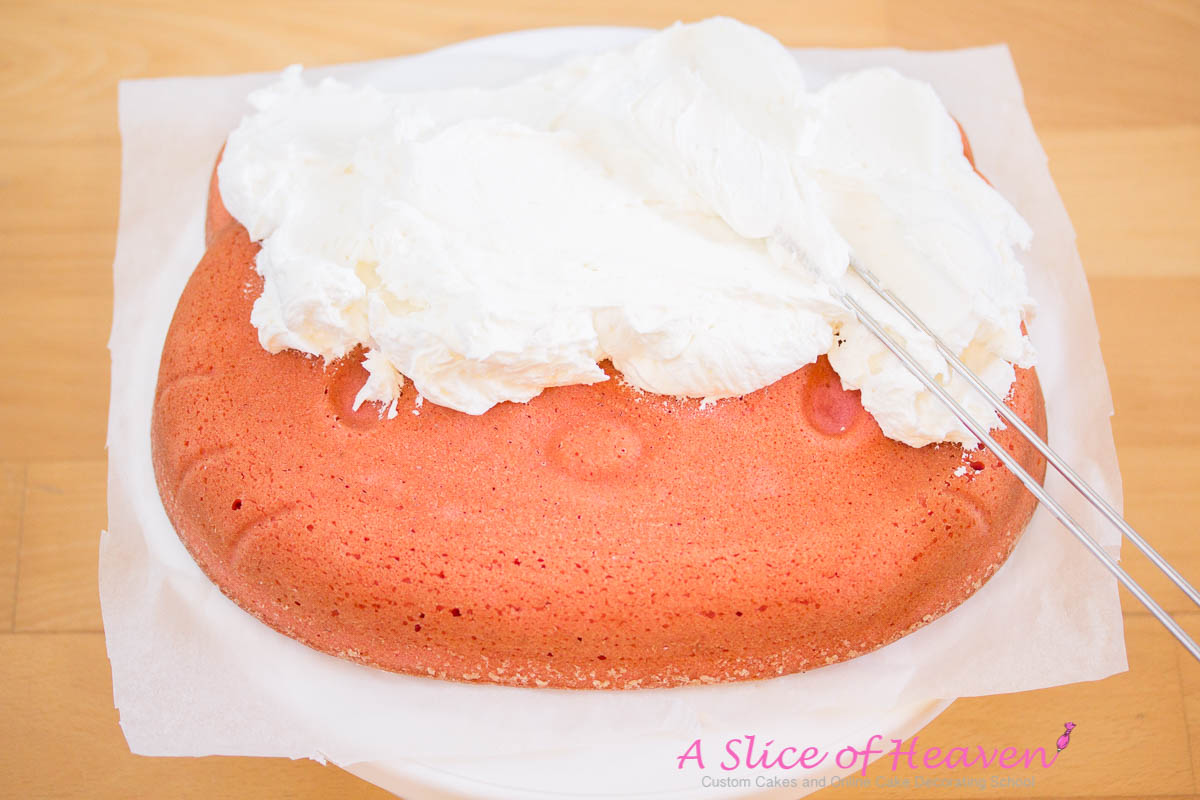
5. I strongly recommend smoothing the frosting with the Viva paper towel method. It’s an extremely easy method to get an even, fondant-like surface. Since this frosting doesn’t create any crust, it’s better to dust the surface with powdered sugar before you place the paper towel on the cake.
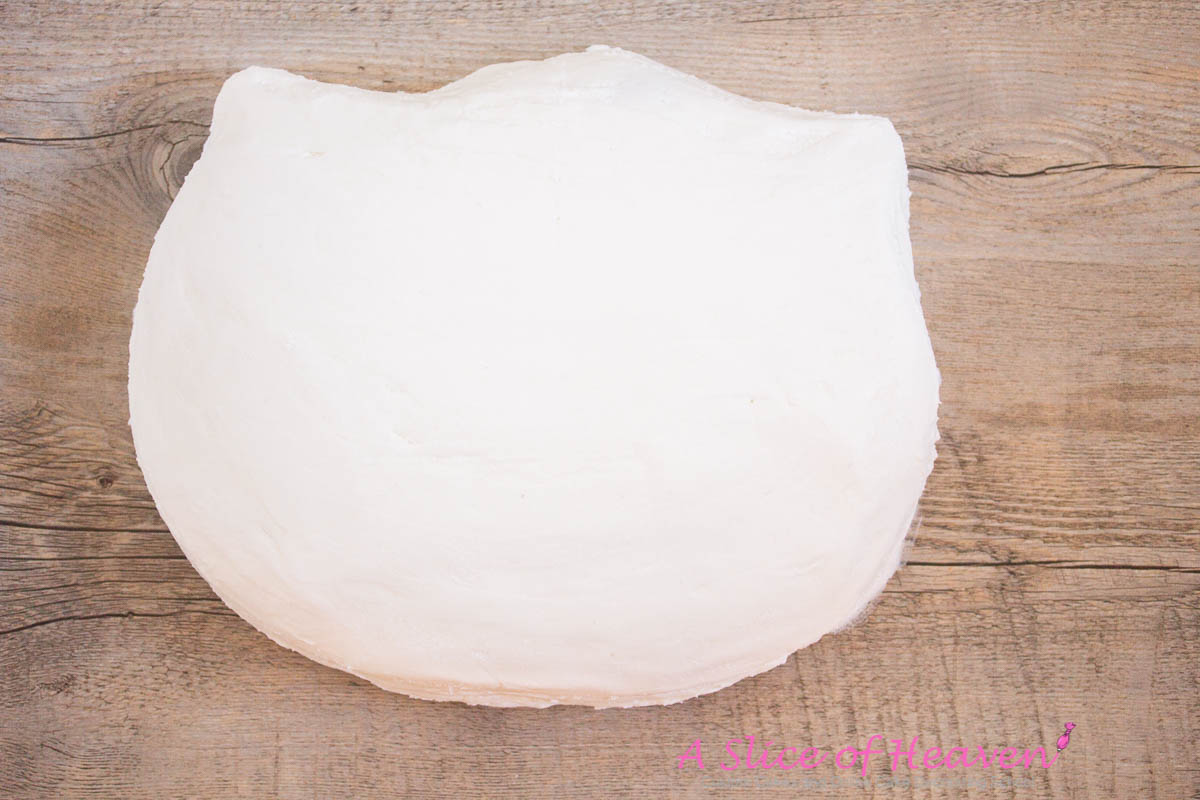
The recipe makes quite a lot of frosting because personally I love a thick layer of frosting on a cake. However, if you have any leftover frosting, you could use it for example on cupcakes.
This way of frosting a cake is so much easier than piping – you don’t need the patience of a saint! Also, you’ll get a nice and smooth surface (especially if you use the Viva paper towel method).
Details
Directions
Now, let’s get into the details. Take the (clean!) Hello Kitty cake pan. You’ll need also the red, yellow, and black Candy Melts. In the Wilton Hello Kitty pan, there are instructions for decorating the cake, but in my opinion, they are overcomplicated. You need lots of time and patience with all that piping — unlike with this method that is easy to follow and quick to make. And with the Wilton method, the result is not smooth, Hello Kitty looks rather prickly. For me, Hello Kitty is always smooth and that’s what you’ll get with this method!
Sure, you can use colored buttercream frosting for the details, but if you don’t master piping, this method with Candy Melts is super-easy, quick, and foolproof.
So, let’s get prepare the details.
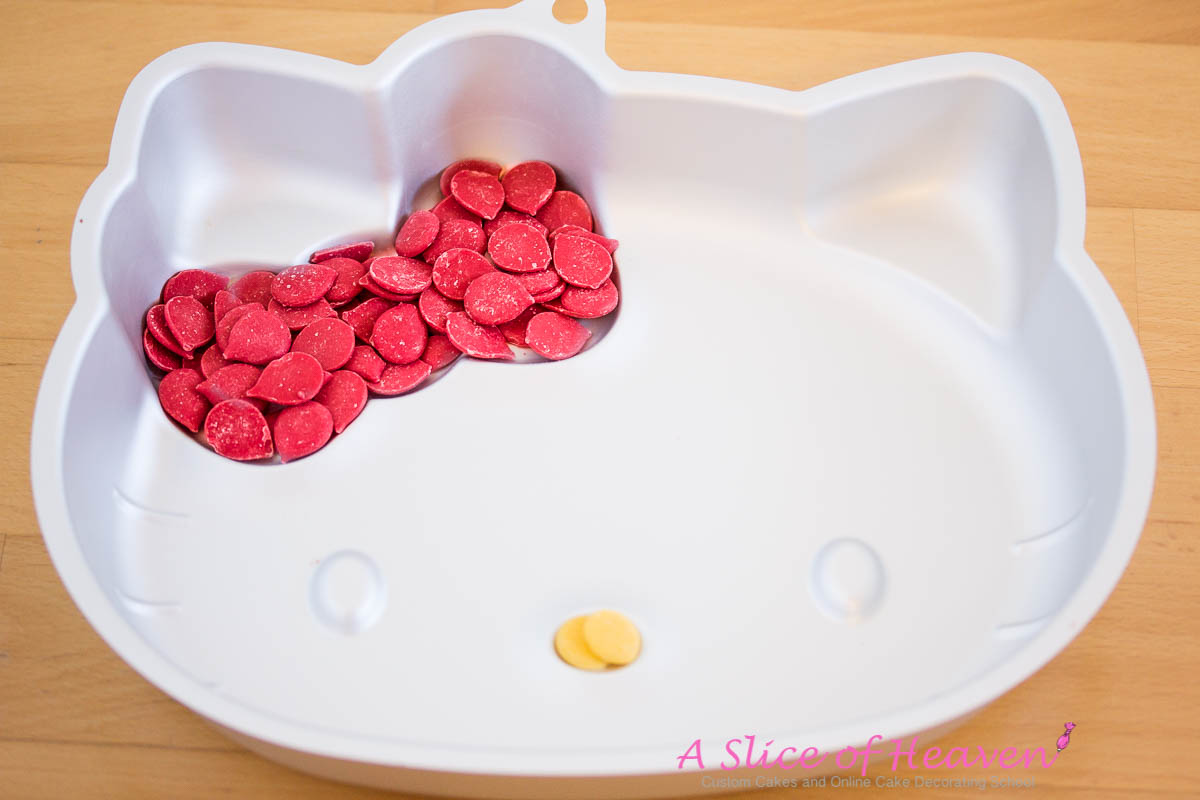
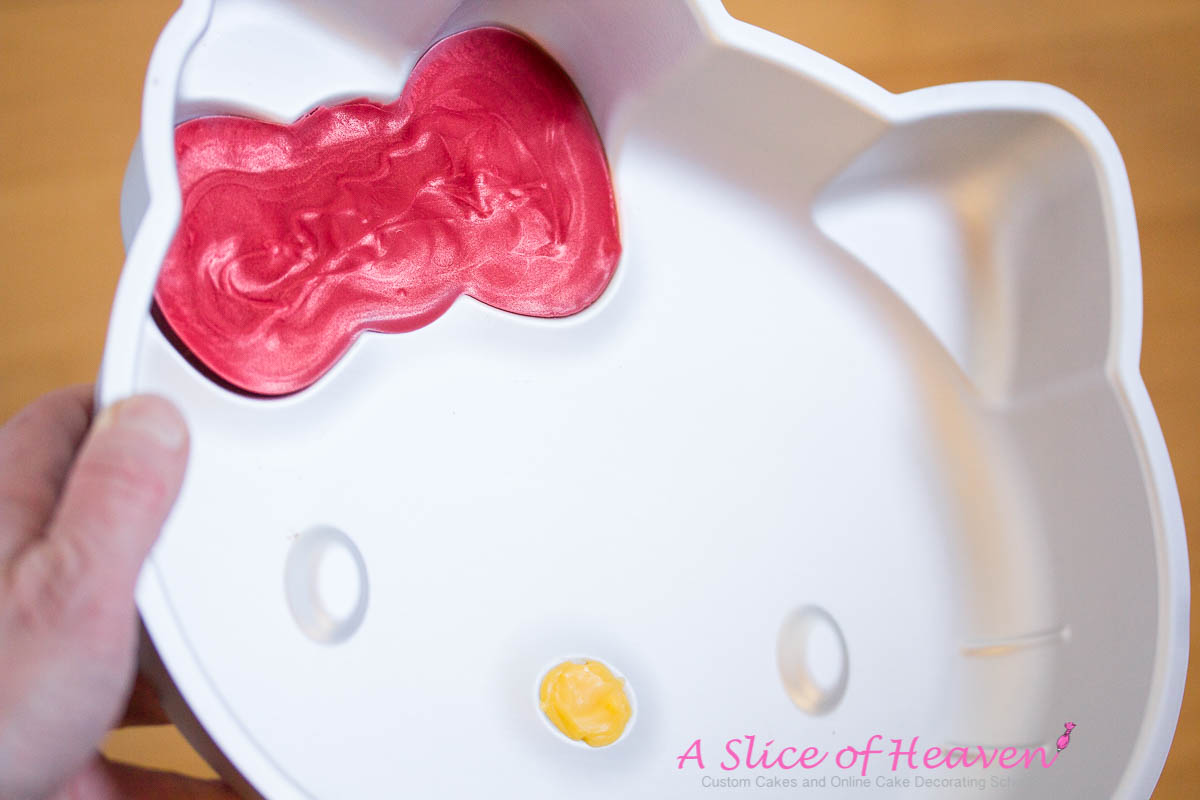
1. Take the Hello Kitty pan and fill the bow with red Candy Melts, and the nose with yellow Candy Melts to see how much you need. Or, if you want to skip this step, just take 1.5 oz red candy melts and five small yellow candy melts (or two large yellow Candy Melts).
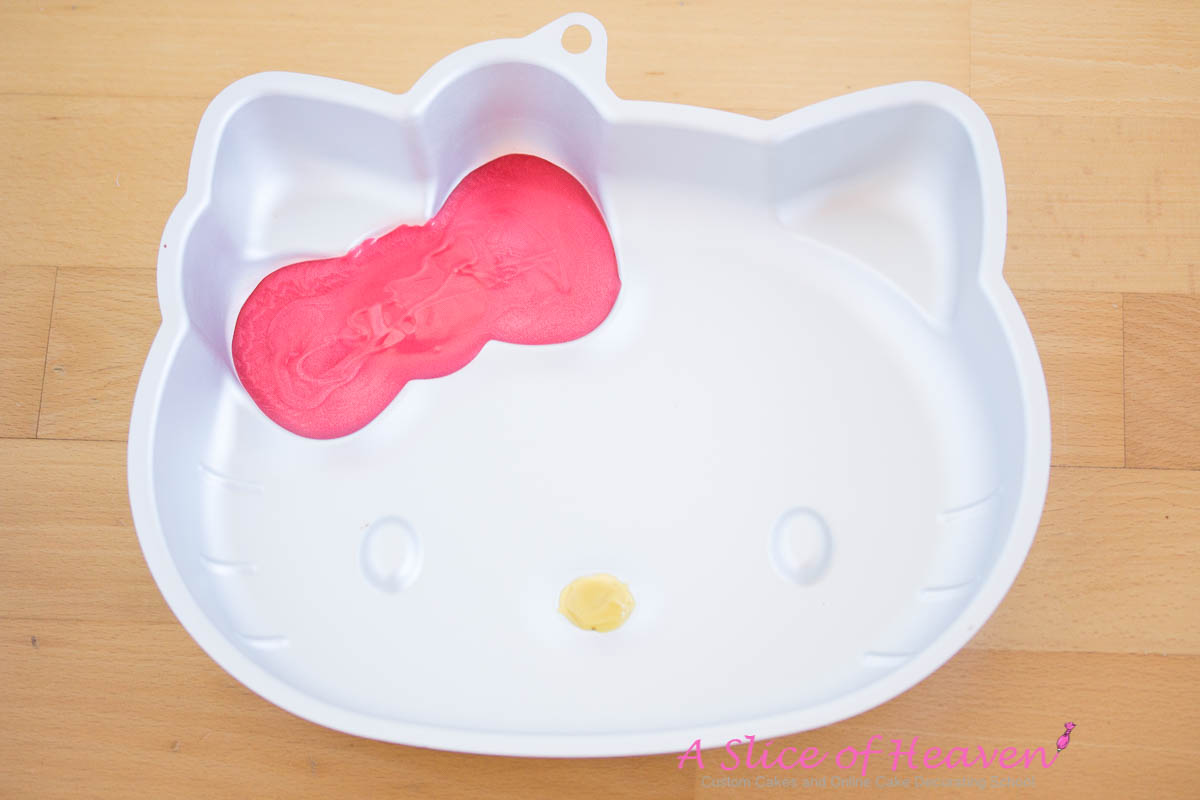
2. Melt the measured red and yellow Candy Melts in separate bowls in the microwave oven, according to the package instructions. Pour the melted Candy Melts to the Hello Kitty cake pan accordingly: red to the bow, and yellow to the nose. Place in the fridge and allow to cool until completely set.
3. Take the Hello Kitty cake pan, turn it upside down and gently tap it to a hard surface (like a table). The decorations will just pop out easily! be careful, though, that the bow doesn’t break when it hits the table. It’s better to let it fall on your hand rather than on a hard surface.
4. Turn the Hello Kitty pan upside down and fill the eyes with black Candy Melts to see how much you need them. Alternatively, just take 16 small black Candy Melts (or six large ones). Melt the black Candy Melts. Turn the Hello Kitty pan upside down and add the melted black Candy Melts to the eyes. Place again into the fridge until set. Turn the pan upside down and gently tap it. Now, you’ve got the eyes ready as well.
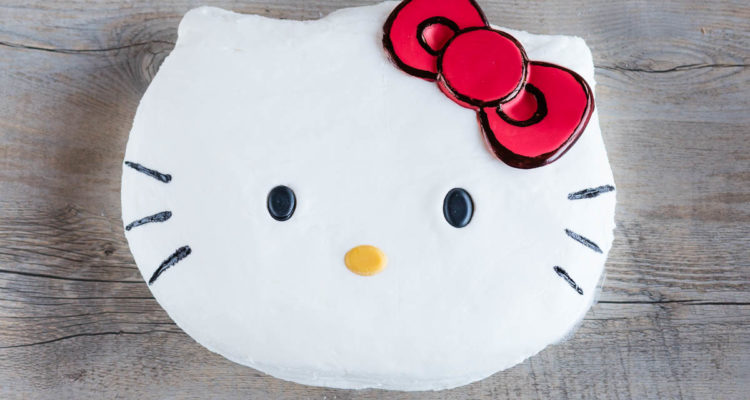
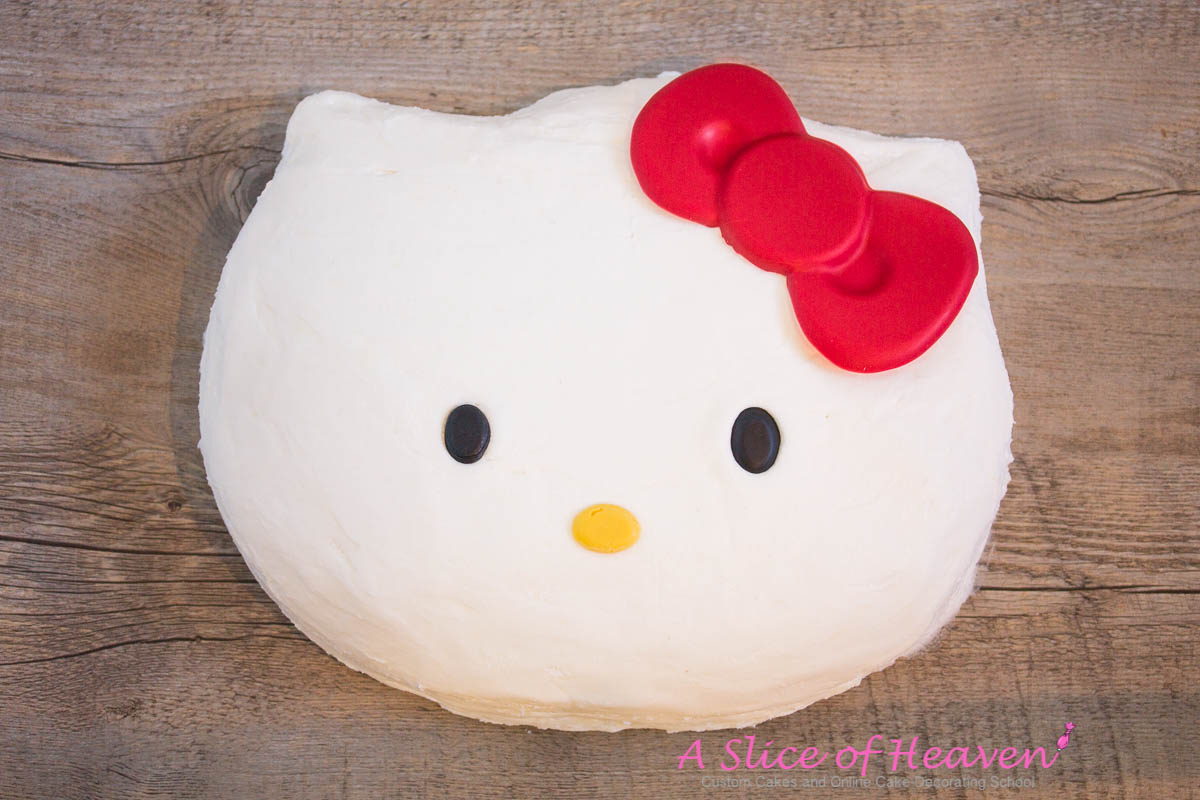
5. Now, it’s time to put the details to their places. Take the Hello Kitty pan and check the locations of the eyes and nose from the pan. Place the eyes, nose, and the bow in their places. Like this.
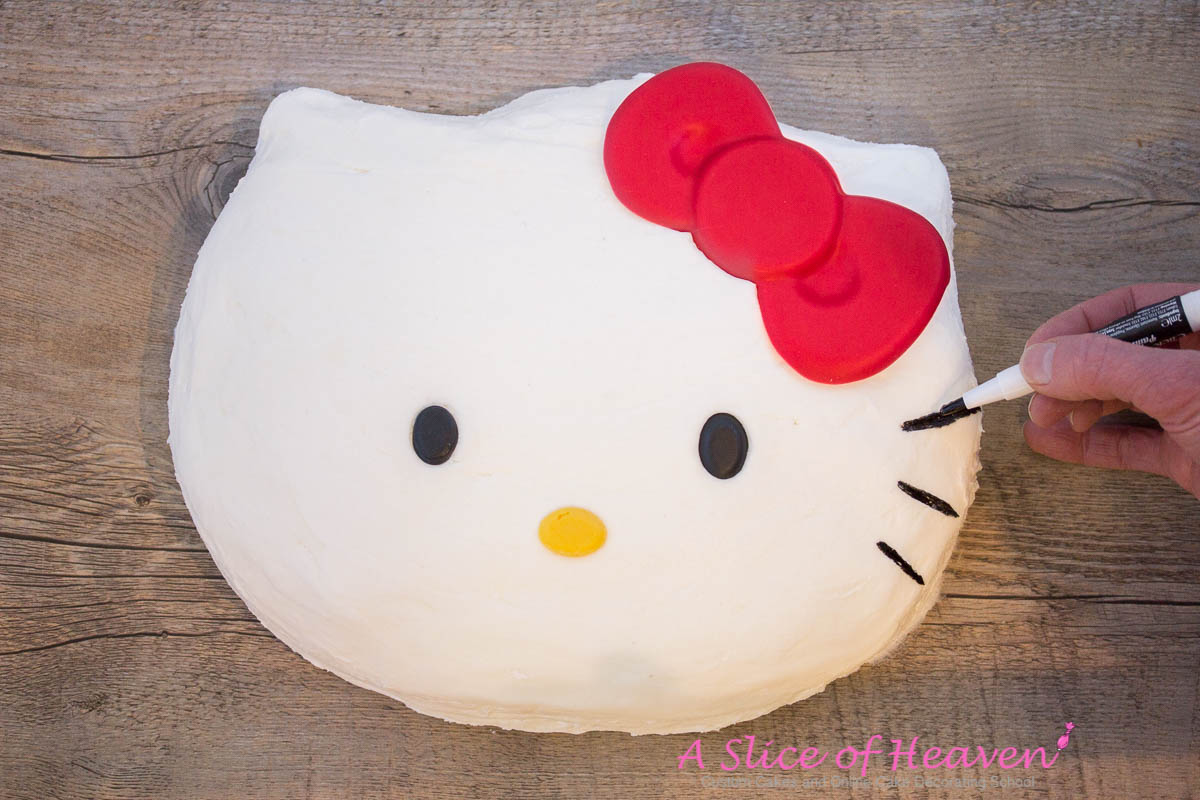
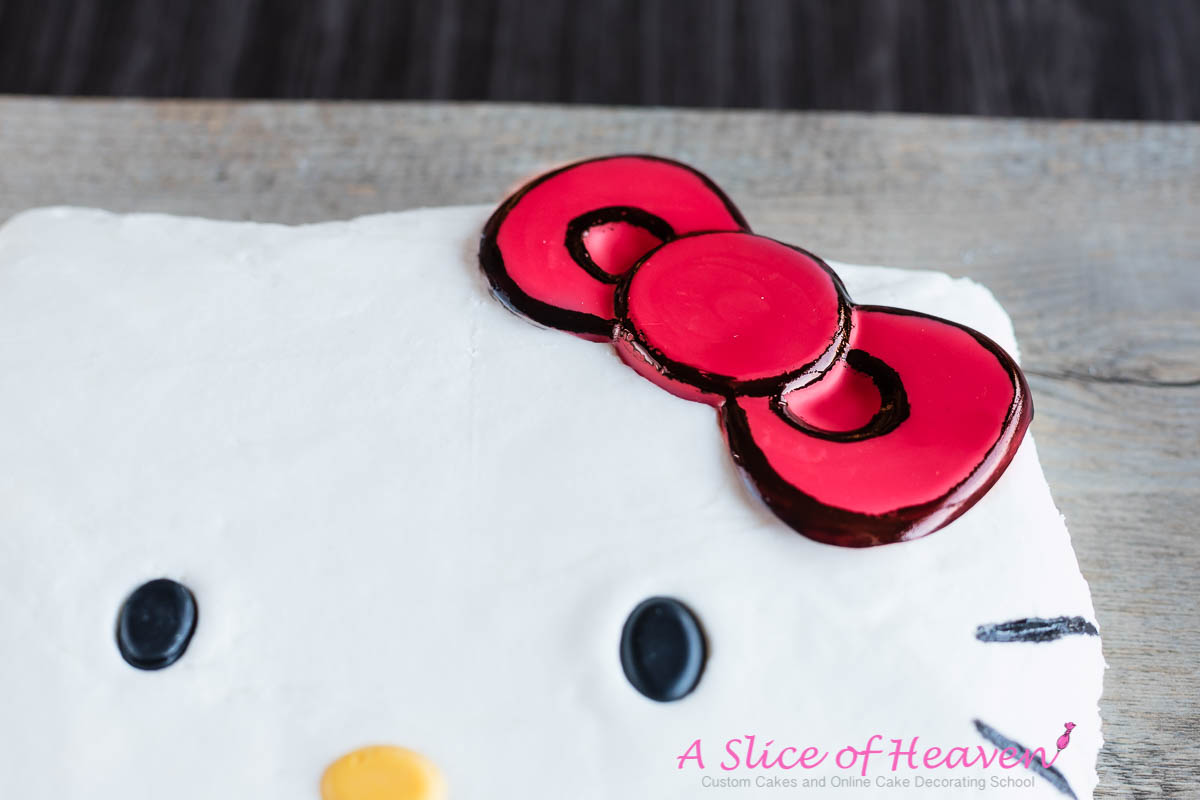
6. And now the final step: paint the whiskers with black food coloring (food decorating pen is the best). An even easier option is to use black licorice laces for whiskers. Or optionally pieces of thinly rolled black fondant. You can also paint some black details to the bow with a black food decorating pen. Note that if you use food paint (like I have here), you have to serve the cake right after painting. If you store the painted cake longer than for a few hours, the paint starts spreading and that’s not what we want.
7. Voila! Here’s a perfect, super-cute homemade Hello Kitty cake that is SO easy to make!

Happy Baking!