

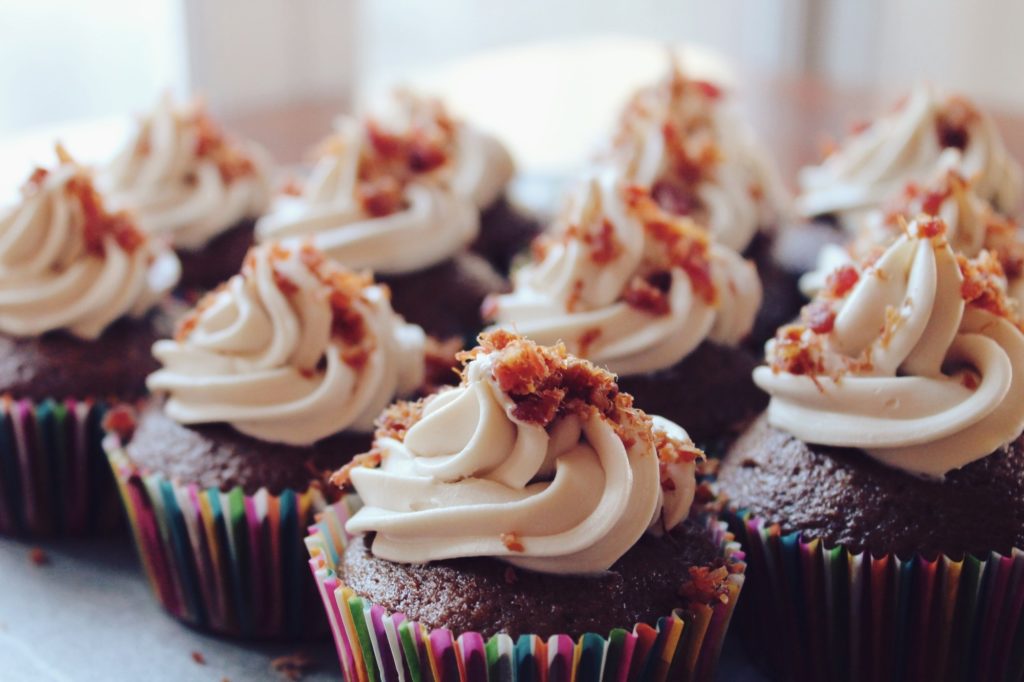
All cakes are delicious, but what could possibly be more scrumptious than a gateau perfectly piped with indulgent frosting?
While cakes frosted with icing look delectable and professional, the process of piping icing is a little daunting. If the idea of piping icing gives you the jitters, don’t worry, you’re not alone!
There’s something incredibly challenging of holding a bag of icing and decorating cakes just the way you’re hoping for. Even experienced and savvy cake bakers and decorators have issues – especially those with a wobbly balance!
Want to know how to pipe frosting? Don’t worry, we’re here to help. We’re here to share our tips on how to pipe frosting like the bakery boss that you are!
Planning
First, you’ll need to decide what type of frosting you’d like to use for your cake piping. You can pipe almost any type of frosting including royal icing, Swiss meringue buttercream, stabilized whipped cream, chocolate ganache, or American buttercream.
Making your own homemade American buttercream is always a nice idea, and it’s an easy recipe to whip up too.
Royal icing tends to go hard and won’t bleed into the fondant, so the finished look is usually clean and professional. However, as it can’t be wiped away easily, there’s a lot more pressure to get it right the first time!
If you opt for Swiss meringue buttercream, you should chill the buttercream-frosted cake before piping on any frosting so it will be easier to work with and will be smudge-resistant.
Once you’ve chosen your frosting for piping, you’ll need to select the right tools. These include pastry bags, couplers, piping tips, straight and offset spatulas, and a rotating cake stand if you have one.
You can also include food coloring if you’d like to give your icing some color, and maybe some fun sprinkles.
How to Pipe
You’ve got your cake, frosting, and tools so now it’s time to learn how to pipe like a pro!
Step One
Snip the end off a pastry bag and slide a coupler into the opening – couplers let you change tips without having to empty the bag of frosting. Choose a tip and turn on to the end.
Step Two
Place the bag, tip down, in a tall glass and then fold the cuff around the edges of the glass. Place your frosting into the bag using your other hand. You can scrape the icing against the side of the bag to release it.
Avoid filling the bag more than halfway. Then, unfold the cuff. Gather the top edges together with one hand and pull the thumb and index finger of your other hand downwards to release air, forcing the icing into the bag and tip.
It’s important to try and avoid air bubbles in your frosting – air bubbles in the frosting are a piping fail! If you can spot some, simply take a few extra minutes to gently squeeze the bag to remove them.
Twist the top of the bag together to close it and keep pressure.
Step Three
Now it’s time to frost! Hold the top of your icing pipe bag in your right hand – the one you’ll be using to squeeze the frosting out. Your left hand will be used to steer the bag.
If you’re left-handed, instead hold the bag with your left hand and steer with your right for better balance.
Remember to keep the tip of the piping bag away from the surface of the cake. Once you have the string of icing where you want it, touch it to the cake to join it. An easy way to keep your hand steady is to anchor yourself to the table with your elbows.
For lines and writing, hold the bag straight up and down. For designs and trimming, try slanting the bag.
Tips and Tricks
To really smash your frosting routine, check out these cake piping techniques for perfect precision.
Practice Makes Perfect
If you’re worried about mucking up your cake on your first go, try practicing your strokes. If you use parchment paper, you can easily scrape off the frosting to use it again and again. You can also practice writing letters and drawing designs.
However, if you want to get serious with practicing your piping skills, you’ll need to use an object that’s as upright and round as a cake is. Try using a wine glass or bottle.
Plan Your Design
Piping freestyle works, but it’s better to map out your design beforehand for more precise piping and to avoid any mess.
To create a design that’s tidy and neat, use a cookie cutter to lightly press into the frosting. You can then pipe over the imprint.
Alternatively, you can try the toothpick trick. Before piping, poke small holes into the frosting using a toothpick to sketch out shapes, designs, and letters. Then, like with the cookie cutter design, you can pipe over the patterns.
If you don’t like the look of your toothpick design, simply smooth over the frosting with an offset spatula and try a new pattern.
Tint Frosting
Adding food coloring is an easy way to make your frosting more attractive and colorful. Opt for gel-paste food coloring to shade frosting in stages. As they’re more concentrated than liquid food coloring, they won’t dilute the frosting.
Now You’ve Learned How to Pipe Frosting
With these tips and tricks, now you’ve learned how to pipe frosting like a baking boss! Instead of being embarrassed by lopsided or awkward looking cakes, now you can look forward to showing off stunning swirls on top of your cakes.
Remember, practice makes perfect so go on and give it a go! You’ll be a pro piper before you know it.
Want to learn even more about baking? Check out our guide on how to bake a layer cake like a pro.