
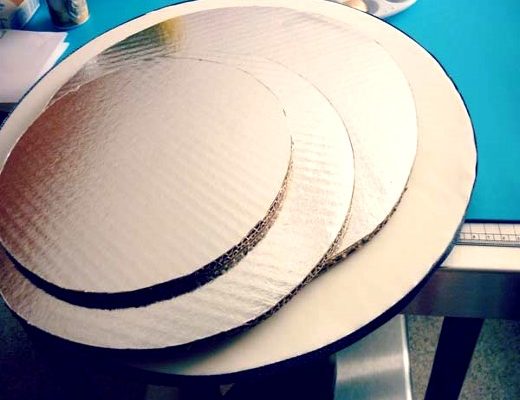
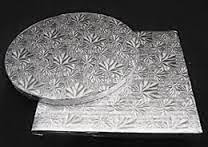
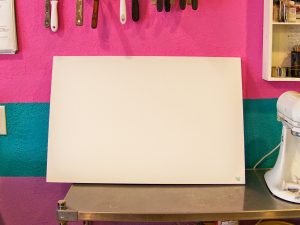
It can be really difficult to find sturdy cake boards that don’t cost a fortune. I have tried several types of disposable plates and boards, all with disappointing results. Besides the cost, you are also limited on the colors (white, silver or gold). One day I had a damaged cake board, that I paid nearly $4.00 for, and decided to take it apart and see if I could make them myself. I learned that I could buy 1/2″ foam board sheets, 24″ x 36″, and I could make several for the same price that I paid for one! Using the 40% off coupon that is in the Sunday paper every week, I purchased my foam board at Hobby Lobby (craft store) for $2.40.
I have used this method of making cake boards for cakes up to 2 tiers. I would not suggest using this for anything greater than 2 tiers just because I tried it once and I could hear it making creaking sounds. The cake was 3 tiers and had lots of yummy filling so I’m sure it was very heavy but I decided at that time I would make the cake board out of 1/2″ plywood, on anything larger than 2 tiers, just for my own peace of mind.
You will need to know the size of your cake before you begin. To determine the size the cake board needs to be you should add 4 inches to the size of your cake. This allows for any writing as well as room for your hands when carrying the board. When completed, you will have a 2 inch buffer around all sides of your cake.
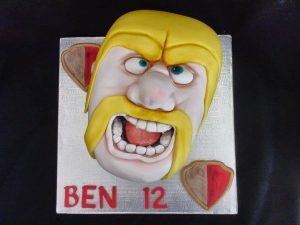
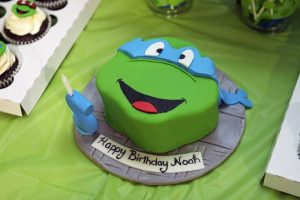
I am making a Clash of Clans cake for my oldest grandson next week and will need a square cake board and I am making a Teenage Mutant Ninja Turtle cake for my youngest grandson in August and will need a round cake board. I’m going to show you how to make the round cake board since it’s a bit more difficult than the square but both are made the same way. I will be able to make raised cake boards for both cakes from the one sheet of foam board.
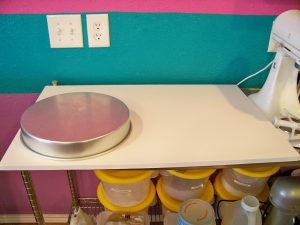
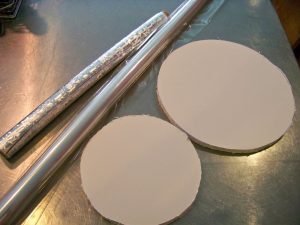
Since I am going to make an 8″ cake for the ninja turtle, I will need a 12″ round cake board. Using a 12″ cake pan, draw a circle around the pan onto the foam board.
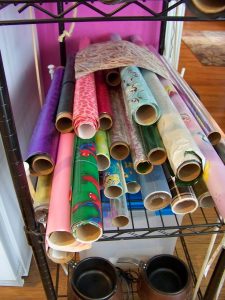
The nice part about making your own boards you can use any type of wrapping paper to cover the boards since we will put a clear wrapper over the top of the covered boards. As you can see, I have a large assortment of wrapping papers that I use. I have also used sheets of scrapbook paper. I like to use something that goes with the cake. In this case I need silver so I will cover mine with silver paper.

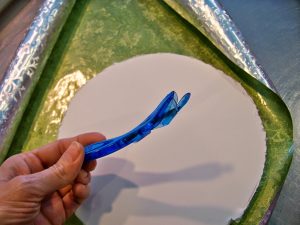
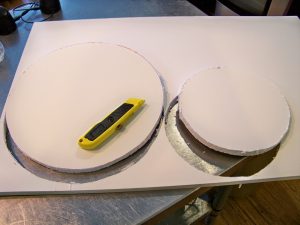
Using the tool (or scissors) cut around board, leaving an additional 2″ to 3″ all the way around.
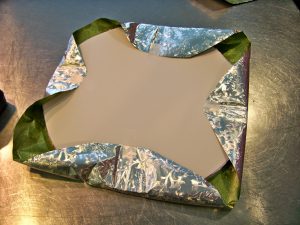
Lay the board in the center of the paper and, pulling the paper tight, tape the paper down on four sides. This will keep the paper from shifting. Once you tape down the four sides, proceed with taping down the remaining paper. You will need to pleat it and tape as you go around until you have the paper completely taped down both boards.
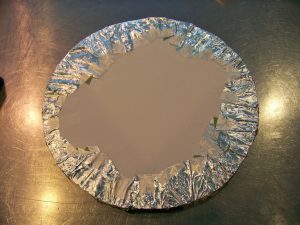
Once the paper is completely taped down, do the same with the clear wrapping paper.
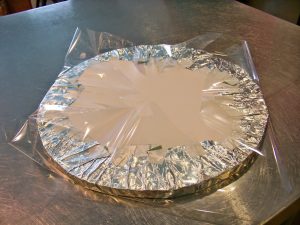
Note: Sometimes you can find paper specifically for cake boards that is food safe and you don’t need this clear wrapping paper. I have found that I still use the clear wrapping because it prevents grease spots that you sometimes get on the boards.
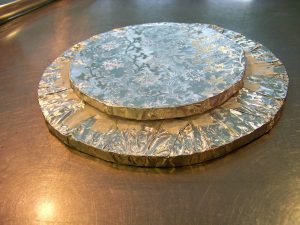
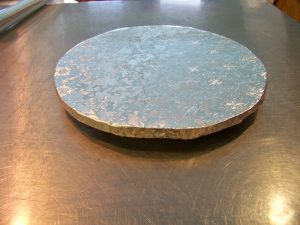
When both boards are covered then you’ll want to attach them together. Using a hot glue gun, glue the small board onto the center of the large board (back sides facing each other). If your paper was long enough when you wrapped the boards then it will be much cleaner looking then I have done below.
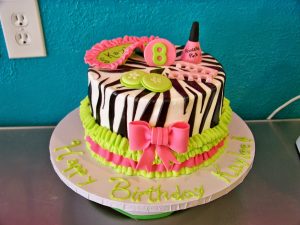
Once it is finished then you can decorate your cake as usual with room to put your fingers under it for transporting or moving.

I hope you enjoyed this tutorial. I have lots of new tutorials planned for the near future, including this adorable Spa Day cake that I made for my granddaughter’s birthday.
For those of you that are wondering if I will also do tutorials for the ninja turtle and clash of clans cakes, the answer is YES! My goal is to help you make your own great cakes!
Until then . . . Happy Baking!
Donna